|
You are here: Home
: Door details & Pricing : Roller
Doors : SWS Roller Doors :
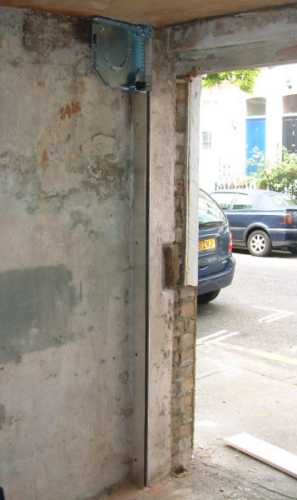
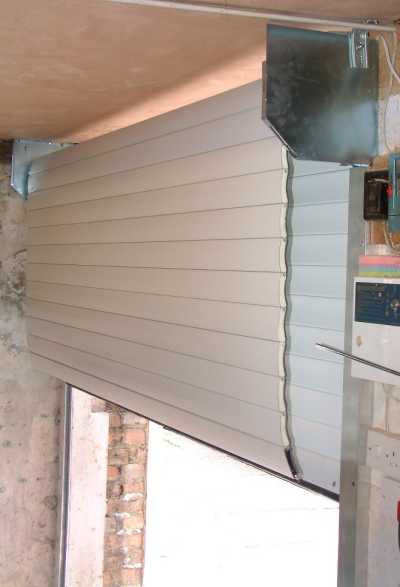
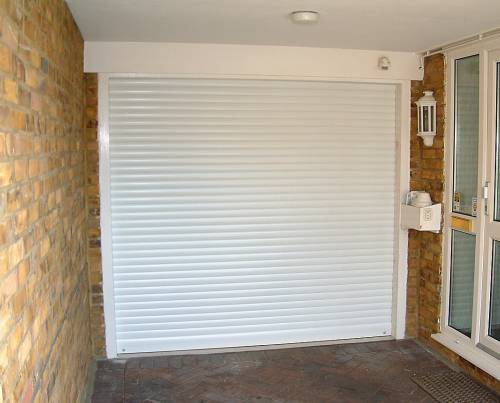
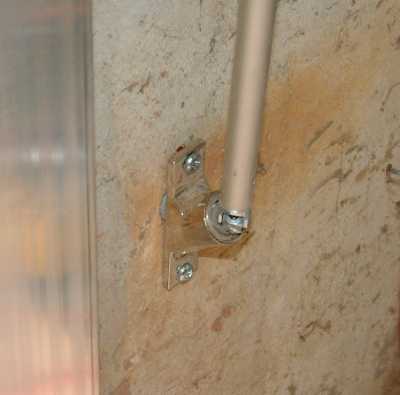
SWS Installed Example SWS SeceuroGlide Roller Door Installed ExampleTo give you an idea of what is involved with installing an SWS SeceuroGlide Roller door we have some images taken throughout the installation of a 2.2m x 2.1m door. This is not intended to be an installation guide and only shows the major steps not the fine detail, refer to the excellent installation manual supplied with the product for full details. Skip to the bottom of the page to see the SWS External Manual Release. 1. This standard SeceuroGlide door is being fitted to a (rather shabby) garage which does not have enough clear headroom for the roll so the end plate is lower than the lintel - timber infill was used to lower the lintel on completion. In this case fit the guide and end plate to the side with the lowest headroom first - trim the vertical guide to suit. The guide is being fitted to the rear face of the brickwork - removing the old door frame increased the drive-through width by 10" in this case. The guide must be drilled and fixed using No12 screws (not supplied).
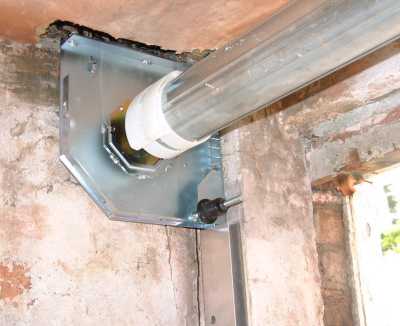
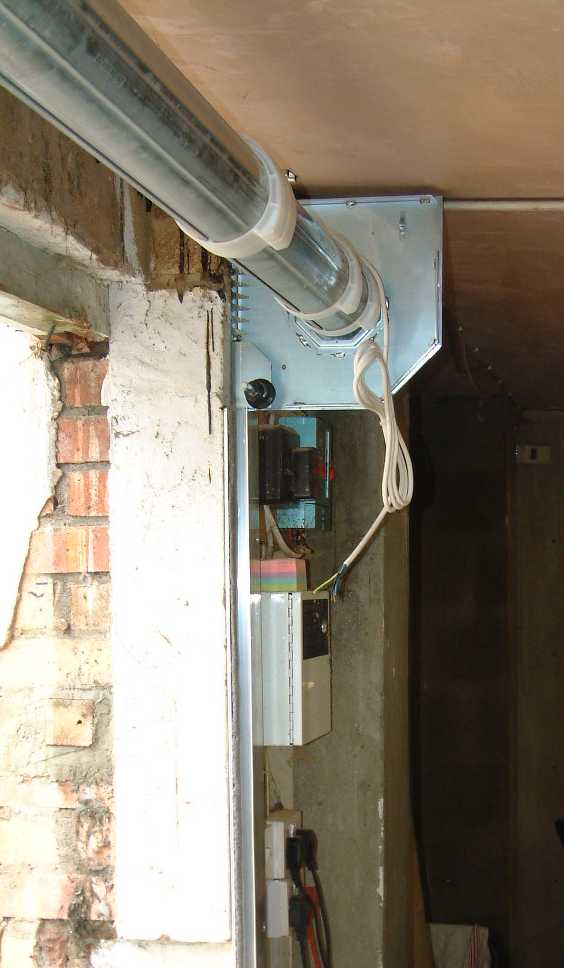
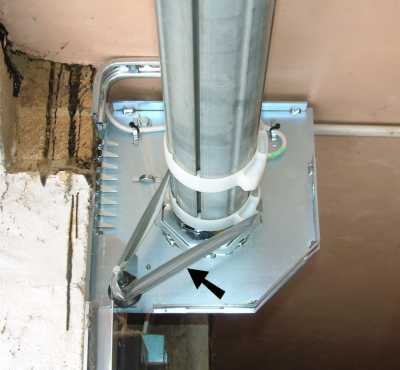
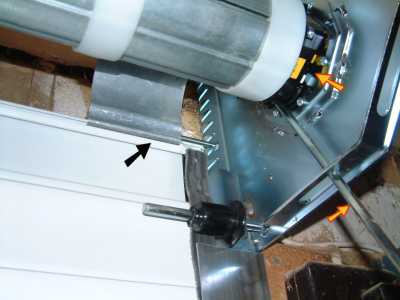
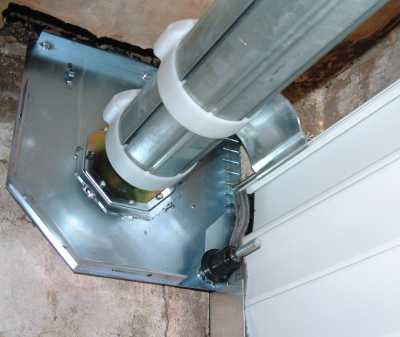
2. Once the guide and end plate on this side have been fixed in position the other side can be offered up - it is useful to fit the axle at this stage, the guide can be trimmed so that the axle is absolutely level. Take a little extra time over this... a perfectly horizontal axle is essential.
4. In preparation for feeding the curtain over the top of the axle stick a loop of duck tape around the axle and black roller on both sides; this helps to guide the bottom edge of the curtain into the guide making it much easier if you are on your own.
5. Having measured the height of the guides and checked against the
installation instructions that the curtain has the correct number of
slats (if you have to remove some you will need a pop rivet gun) the
curtain is fed over the of the axle. The curtain is then lowered
onto a tool box and curved collars slipped onto the top slat from the
side.
|