|
You are here: Home
: Door Details & Pricing : Roller
Doors : Gliderol
Roller Doors : Gliderol Installed Example
(Can't see menu? Allow ActiveX controls!)
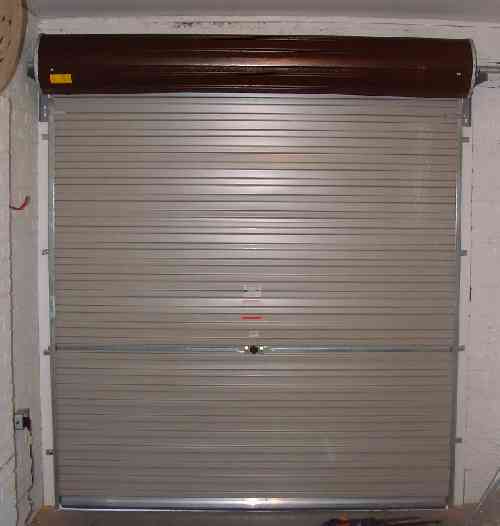
Gliderol Roller Doors Installed Example
To give you an idea of what is involved with installing a Gliderol
Roller door we have some images taken throughout the installation of a
7'x7' manually operated door. This is not intended to be an
installation guide, refer to installation manual supplied with the
product. You can download Henderson's roller door installation
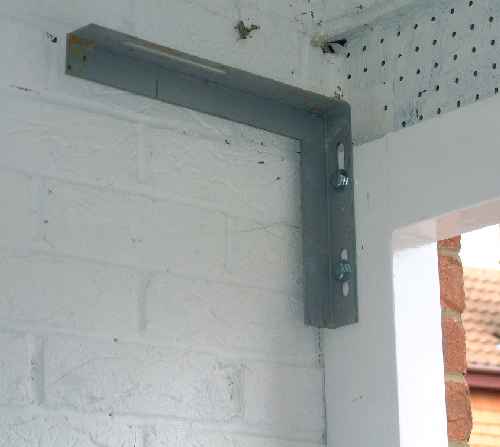
manual, (Gliderol supply the parts to Henderson). 1. Fit the first bracket to the wall or
frame. Please note that if you are fixing to masonry, coach-bolts
are supplied but rawl plugs are not - you will require 4 x 12mm dia rawl
plugs and a 12mm masonry bit. It is essential that these brackets
are very securely fitted. Although an 'L'-shaped bracket is shown
here we are requesting that 'T'-shaped brackets are delivered - this
increases the fixing options and is particularly useful if you have a
catnip type lintel.
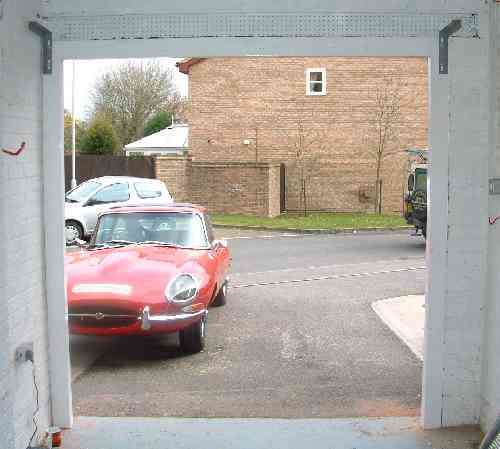
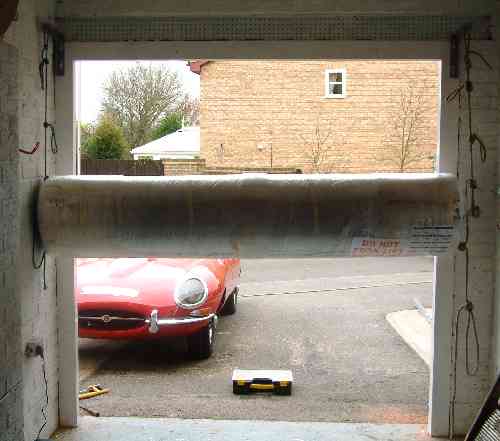
2. Fix the second bracket so that the top faces are at exactly the same
height - even if your frame isn't level you must still fix the door
level as differing heights may cause the curtain to move sideways - a
laser spirit level is useful but not essential. (The classic
sports car is optional!!).
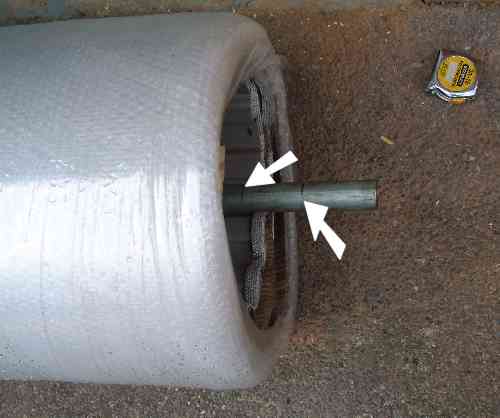
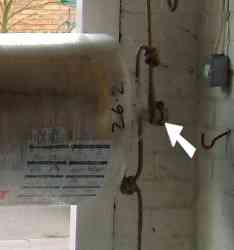
3. If the clearance from the side of the opening to the internal
side wall is less than 150mm (ish) you will need to trim the ends of the
shaft down so that it will fit across the width of the garage. Our
tip is to find the shaft balance point (often marked by a black ring),
using a long straight edge mark the edge of the roll on the shaft (left
arrow) - then measure the clearance (side of opening to side wall) less
5/10mm (right arrow). Check and check again prior to cutting...
getting this bit wrong would be a pain.
DO NOT UNWRAP THE ROLL -
you will loose all spring tension.
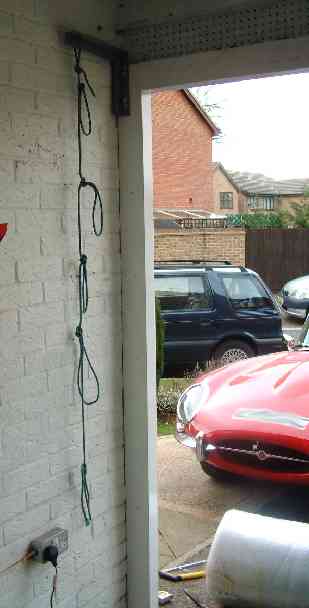
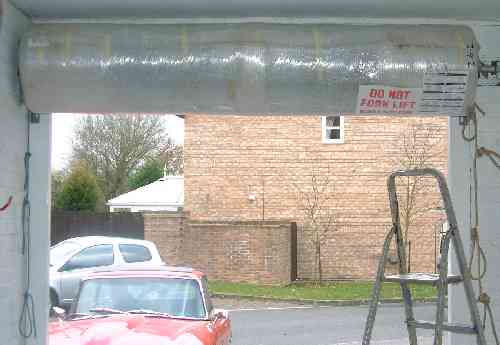
4. The whole roll now has to be lifted on to the brackets.
It is best to do this in stages - particularly if you are on your
own. One trick is to tie a stout rope through the slots in each of
the brackets (so it doesn't slide off) and tie loops at regular
intervals....
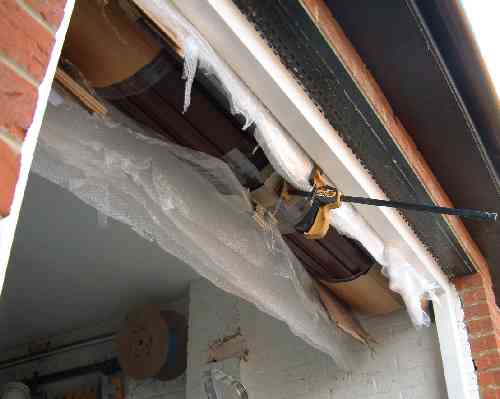
5. ....then temporarily tighten the shaft clamps to the very ends
of the shaft (arrowed) to prevent the loops from sliding off the shaft
as the rope supports each end....
6. ....you can then lift the roll in stages a loop at a time,
alternating sides.
7. Finally lift each side on top of the bracket, position the
leading edge in the correct place (see instructions), try to center the
curtain against the opening (you can adjust later but it is easier to do
it now) and tighten the clamps in the correct places as per
instructions.
8. Wind 1½ extra turns (increases spring tension so the
door will lift easily), slit the packaging preferably without scoring a
line across your beautiful new door. Start at the centre.
Reach inside so you can hold the bottom rail to prevent the door
unrolling whilst you remove the packaging, use a padded clamp if you are
on your own. Remove all packing.
9. Now the Guides have to be fitted; these hold the door securely
and guide it up and down. They will probably need to be trimmed
down. The position of the tongue (arrowed) represents the maximum
up position (don't forget to allow for the handle on the outside) and
needs to be the same on both sides. If you find that your curtain
is not quite central then you will need to slide the whole curtain and
shaft assembly along the brackets... NOT NO LOOSEN BOTH CLAMPS AT THE
SAME TIME - spring tension will be lost and the door could crash
down. Re-tensioning the spring is possible but it is hard work so
best avoided!!
Say you wanted to move the curtain to the
left... loosen the right clamp and move clamp further left along the
shaft - use a block of wood to prise apart - re-tighten clamp.
Then loosen left clamp and move it rightwards along the shaft -
re-tighten. The whole assembly should then balance up a little
further to the left.

10. Once the guides are positioned and secured (if fixing to
masonry you will need 8 x 10mm rawl plugs. The roll can then be
lowered. The lock assembly drilled out and outside handle fitted.
Back to top
Sitemap
|